SKYE already has a 12-foot pole, for the staysail, but needed an 18-foot one to match the “J” measurement from mast to end of the bowsprit, for use with the drifters or reacher. So I decided it was time to build one.
I already had a bunch of very clear and straight Douglas fir 1x2s, and although I briefly considered buying some Sitka spruce, I found that the few places where it’s still available have prices that made my eyes water. (Not that real Sitka spruce isn’t just about the best choice for spars, and would make for a lighter weight pole, but I think this Douglas fir one will work out pretty well. I hope. 🙂
So here’s a mostly complete series of the photos showing the construction.
First thing was to figure the stave dimensions. I used a 3D program I normally use for my paying job. This section view shows the middle, and end, sizes and the way the bird’s mouth staves interlock. I designed the pole to be about 3 inches diameter in the middle, tapering to about 1-3/4 inches at the ends. The 1x2s, being in reality about 5/8ths x 1-3/8ths, were the perfect size for the staves.

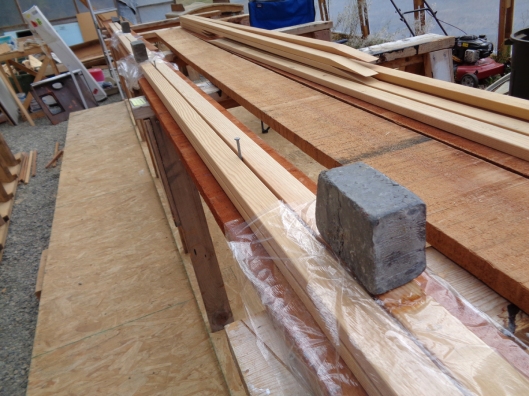
Since my Doug fir 1x2s were only 10 feet long, I cut scarf joints, using the above cobbled-together jig, to make pieces that were about 18 ft., 4 inches long. The parts of each stave were of various lengths so that the scarf joints would not all be at the same point on the pole — a couple in the middle, others at the 25% and 75% mark, and the remainder in between those.
The scarfing jig worked great… just clamp the 1×2 in place and run the circular saw along the guide (with the depth set just a hair more than enough to cut all the way through.)
I glued up the scarfs (with epoxy + high density filler) four staves at a time, using nails in a straight row for alignment and a few chunks of lead (taking a break from trim ballast duties) for clamping pressure.
One way to make sure the scarfs are aligned correctly length-wise is to make little tick marks when dry-fitting to provide a visual guide during glue-up.
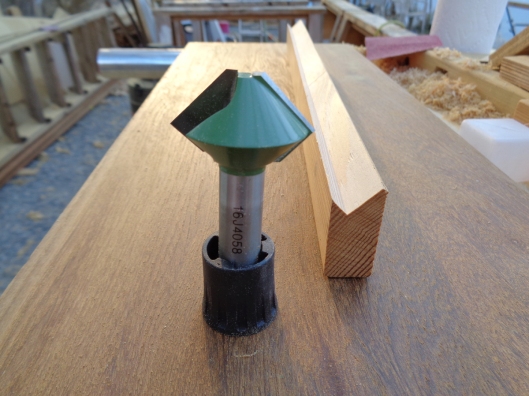
After cleaning up the glue ‘squeeze-out’, and planing the scarfed areas smooth, I ran each 18+ ft. stave through the router table, using this bit from Lee Valley. I offset the bird’s mouth cut slightly, which saves a bit of material and makes the glued-up pole already 8-sided as is. Note that I had to leave a small flat area at the top of the long part of the “bird’s mouth”, which was required in order to have something solid to follow the outfeed fence on the router table.
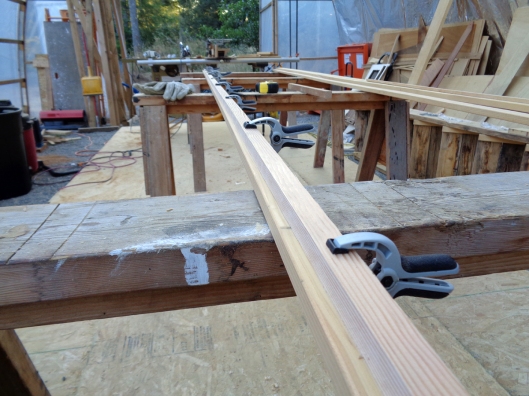
To get the taper, I used a long batten to draw a smooth curve the length of each stave, making the stave about 1-1/4″ wide in the middle and about 3/4″ at the ends. Then I used the first stave as a pattern to mark the others. Quite a challenge cutting the tapers (with a small circular saw)… had to concentrate… follow the line, follow the line, follow the line…..
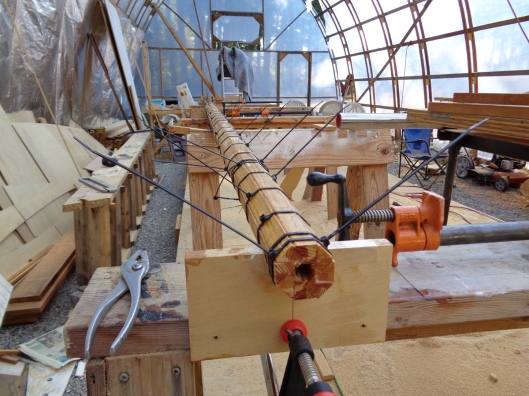
The Big Glue-Up. Quite a day — mixed up about a quart and a half of epoxy (using slooow hardener, of course.) I made some alignment cradles for the middle and ends, which were clamped to saw horses. Lined them up by sighting from the ends.
Turned out to not be the Chinese fire drill I was anticipating. I had first clamped all the staves, birds-mouth notch facing up, side-by-side, so I could just dump the epoxy on the bunch all at once, end-to-end, and spread it out with a big paint brush. Then each stave was placed into the cradles (each marked with a number so I put them in the right order) and they just kinda fell right into place.
Several dozen zip-ties later, it was all clamped up and ready for a 24-hour cure time. (It’s really important at this stage to use a putty knife to remove as much squeezed-out epoxy as possible; around the clamps and along each face. It’s hell trying to remove later after it turns to stone.)
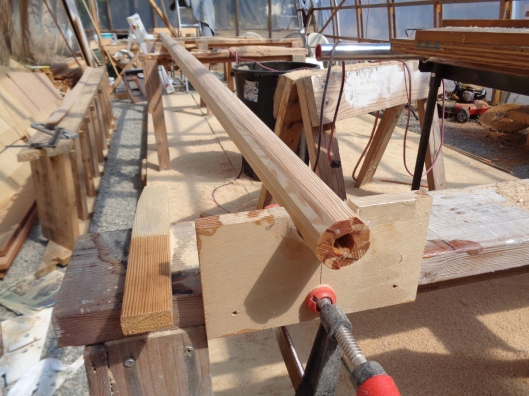
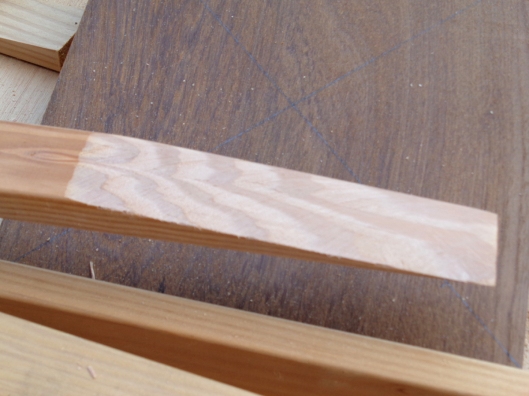
Clamps off, remaining bits or epoxy planed off and each of the eight faces smoothed out.
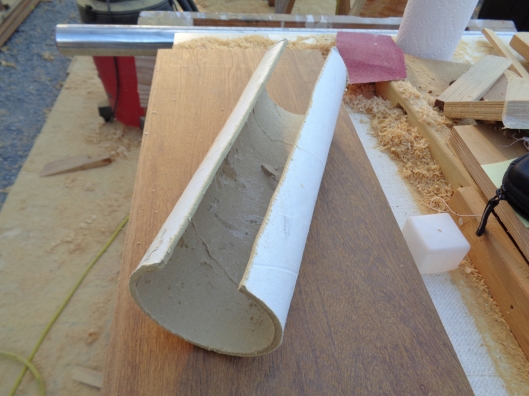
After using a power plane, and then a hand plane, to take the pole from 8-sided, to 16-sided, to something like 32-sided, give or take, I used this section of a thick cardboard mailing tube, cut to the length of a sheet of sand paper, with the sandpaper glued inside with spray adhesive, to smooth the pole to a circular shape. Good exercise.
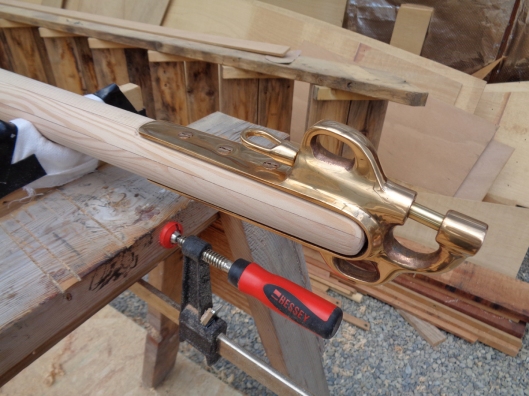
With the pole all rounded and smooth, it was time to inlet two flat faces on each end to fit the bronze end fittings. (From Toplicht.)
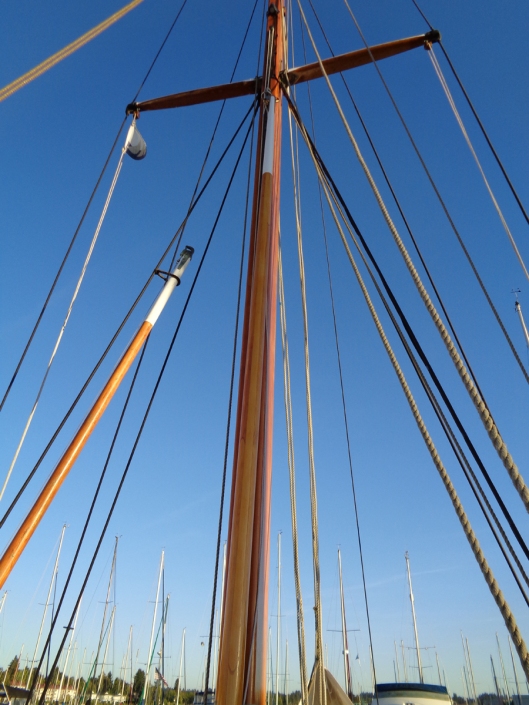
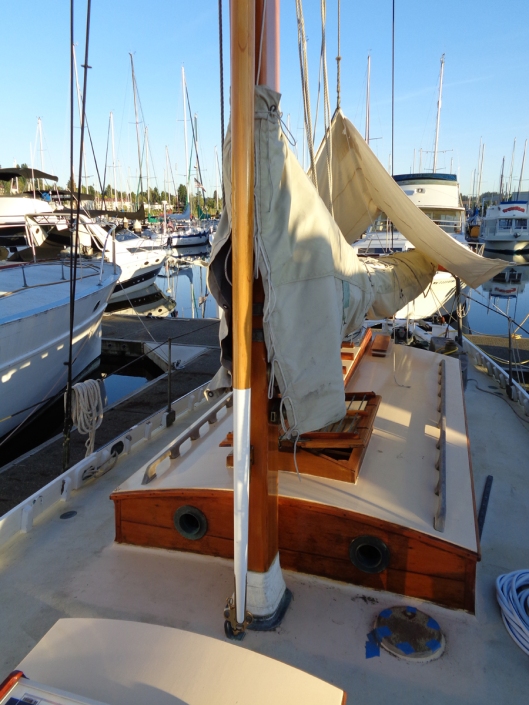
And after about of week of Cetol for the middle, and gloss white for the ends, it was finally all done, and in place on the front of the mast (above two photos.)


